For many, the worst thing about our day-to-day quarantine is not knowing what to do with your newfound excess of time, since all your plans have been cancelled. One thing people have been doing is catching up on their PC gaming backlog, especially all those humble bundle games they’ve never touched. But what if your laptop/computer is not working right now? You can use Computer Users Manuals to fix the problem.
Well, you could buy a high end gaming laptop, but those can get very hot and, in my opinion, are a lot more trouble than they’re worth. So what about buying a gaming PC? Or better yet, what about building your own? Not only is it less expensive than paying someone else to build one for you, it gives you a project to keep you occupied before you get to your backlog. Since I recently built a PC for my fiancée and fellow GameLuster writer, Kate, we’ll use that as a base.
Now, be warned, building a PC can be an expensive endeavor. Some parts, primarily CPU (Central Processing Unit) and GPU (Graphics Processing unit) can cost upwards of three hundred dollars. Fortunately, computer parts aren’t perishable, so if you need to wait and buy items piece by piece, you can leave them safely boxed in a corner or a closet until your inventory is complete. You can look on Amazon, Newegg, and second-hand sites like Craigslist for parts, and I personally used all three. Just as a general rule of thumb, make sure you have your hands on parts before handing over cash when you buy from second-hand sites.
Stage 1: Parts
You can’t build a PC without parts, so that’s our first step. The parts below are what I picked out for my latest build, and should be sufficient to run anything for the next several years. You might find these parts to be overkill for your needs, but I include them as a good idea of what to look for.
The GPU- ASUS Turbo GEForce GTX 1080 TI

A lot of gaming PCs are essentially built around a GPU and this one is no different. Since this was intended for someone who had never had a desktop PC before, much less a gaming PC, I decided that a powerful GPU would do just the trick. While it’s not an RTX and thus doesn’t do ray tracing, so few games do, and given everything else this card is capable of I don’t think it’s something you’ll miss.
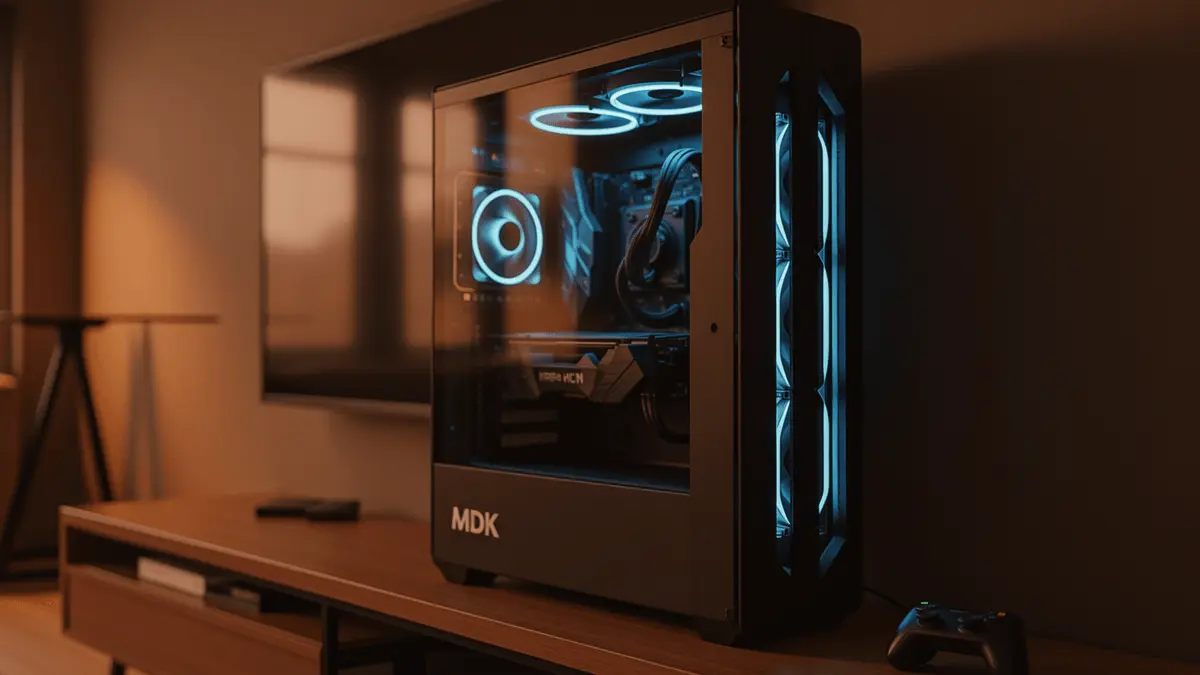
The Case- Phanteks PH-EC300PTG_BR Eclipse P300 Tempered Glass Steel ATX Mid Tower Case Black/Red

A good case is always nice to have for a build, but it’s important to make sure that your case is big enough to handle all of your parts. Most motherboards come in an ATX form factor, so make sure your case is the same size, or bigger than your motherboard. You should also make sure it’s big enough to also contain your selected power supply.
The Power Supply- EVGA 1000 GQ 1000 Watt Power Supply

A good rule of thumb for a power supply is to add up the total power draw of all your parts and add about 200 Watts for peak load. The power supply I used here is absolutely overkill for this build, but it cost me less used than a 700 watt would have been to buy new.
CPU and Motherboard (Mobo)- Intel i7 6700k and Gigabyte GAZ170X-UD5

The CPU and motherboard are the two parts of your computer you absolutely need to work together. I heartily recommend waiting and buying these two components together to make sure you’re purchasing compatible hardware. If your motherboard is a socket 1151, for example, you need a socket 1151 CPU. I personally went Intel for familiarity’s sake and for its better in game performance, but there’s no shame in going AMD. Make sure that your CPU/Mobo are both working, if buying used. Nothing kills a PC build faster than a dead CPU or motherboard.
RAM – Team T-FORCE VULCAN Z 16GB (2 x 8GB) 288-Pin DDR4 SDRAM DDR4 3000

RAM – you need it. I would recommend getting 16GB of RAM. Check your motherboard to see what frequencies it’s compatible with. RAM prices fluctuate a lot, but I would recommend seeing if you can get this RAM for less than $70 if possible. If it drops below $50, you might even want to buy two sets for sheer overkill, but that’s what it will be, overkill. Unless you also want to do a whole lot of video editing.
Cooler – Thermaltake Water 3.0 Riing RGB 240

Of course, you’ll also need a CPU cooler so it doesn’t cook itself to a crisp. If you want to go air cooled, Noctua is generally considered the top of the line (same goes for any case fans you want to add) with others like Coolermaster also offering pretty good bang for the buck. If you want to go water cooled, I recommend an AIO. Don’t get me wrong, custom loop water cooling is absolutely the most effective cooling option and looks very cool, but the skill required, as well as the extra time and effort, means it’s not the best idea for most people. I went with this specific AIO block because I happened to have it lying around. I was building a server earlier this summer and the man I bought parts from threw it in since he no longer had use for it, but it didn’t fit into my rack mount case, so Kate got RGB lighting for free. Nowadays, most all CPU coolers come with mounting hardware for every type of motherboard, but it’s still a good idea to make sure your cooler is compatible with your mobo and case before committing.

I also added a Noctua NF-A14 ULN, a 140 millimeter fan to the top of the case for additional airflow.
Solid State Drive – Crucial P2 500GB 3D NAND NVMe PCIe M.2 SSD

You will want an SSD. For booting, for gaming, it helps – and if you’ve only used a hard drive before, you will absolutely see an improvement. I bought NVME drives for Kate’s PC, but even if you only have SATA drives, you should be fine. If you have no idea what those terms mean, NVME is a little card you slot onto a motherboard, while a SATA drive you connect to the motherboard with a ribbon. Kate’s computer has both, since I had a spare SATA SSD lying around.
You’ll note I didn’t include a CD/DVD/Blu-ray drive in that build, and that’s because it doesn’t need one. I installed Windows off of a USB drive, and most people’s PC game libraries are on Steam, Itch, GoG, Humble Bundle, etc. If you want one, by all means add one in, just make sure your case has the slots for it.
Stage 2: Pre-build
A useful step to take before inserting your first screw is to “bread board” your new parts. Named after a very old prototyping method that involved setting parts on top of literal boards of wood used for cutting bread, what it now means is to set all your parts on a nice, clean – and most importantly – non conductive surface, with the motherboard often sitting on its own storage box. You then insert the CPU and RAM, plug in your GPU, and power them all from your power supply to make sure everything “posts” – or in other words, turns on safely. You don’t need to install your CPU cooler now, but don’t leave the system running for long.
If it doesn’t and you get an error, or a “post code”, it’s much easier to look up that post code and fix the computer now than when it’s sitting snugly inside the case. Depending on your motherboard, a post code will either be a series of beeps that come from the motherboard’s speaker, a numerical code displayed on a small digital display, or both. You can look up the code you get, for example “Motherboard three beeps” or “motherboard post code 77” online at the manufacturer’s website or one of many enthusiast boards to get the information you need.
Stage 3: The Build
So, you’ve bread boarded your parts, they all work, it posts. Now for the actual process of putting part into case and making a proper Gaming PC.
Step 1: Examine your case, motherboard, and power supply

You probably made sure your motherboard fits in your case before buying it, but double checking never hurts. You also want to take a look at your case’s fans and your motherboard’s fan headers (these will be three or four pin spots with a plastic tab on one side), your CPU power connector, and your motherboard’s main power supply. If your motherboard came with a manual, now’s a good time to read it. If it didn’t, go online and download a PDF. Trust me, they help.
Once you know where these things plug into your Mobo, look at your case. Most modern cases will have several convenient cutouts on the mounting plate for the motherboard that you can thread cables through. These cutouts make getting your cables where they need to go easier, with the added benefit of managing your cables and making your case look nicer too.
It’s also a good idea to measure any fans and coolers you might have. I measured the cooler to make sure it would fit, but I forgot to double check my power supply. It fit, but there was a secondary hard drive cage I had forgotten to account for, meaning my large hands had trouble plugging cords into the modular power supply around it. So even before screwing things in, try a dry fit with the side panels off and with them on to make sure nothing will be interfering with anything else, especially in smaller form factor cases.
I’d also suggest at this point installing any case fans and cooler blocks, since it will be much easier now than after your Mobo is installed.
Step 2: Insert your motherboard

Look around your motherboard for a series of circular holes. Make sure your case came with just as many raised points with screw holes on your mounting plate (they’re called standoffs and they’ll probably be little hexagonal studs) and a set of screws to fit those holes. Line up your motherboard with the standoffs and make sure each one has a screw in it. Tighten them until they look flush with the case. The idea is to distribute the weight of the motherboard and all its peripherals over the entire case.
Step 3: Insert CPU, RAM, and your NVME SDD (if applicable)
Personally, I have had my CPU in socket well before the motherboard goes in, but this is basically the latest point it should be inserted. Naturally, make sure your motherboard’s CPU cover is off, that your CPU is entirely out of its plastic housing, and that it is sitting in the right orientation in the socket. Many CPUs and sockets will have markers, like little triangles to show you how to orient the CPU. Once you’re pretty sure the CPU is properly oriented, gently push down and lock the CPU bracket. If it doesn’t feel right, don’t force it, let go and try and re-seat the CPU. The last thing you want is broken pins.

Once your CPU is sitting pretty, add your RAM. RAM comes in DIMMs (Dual In-Line Memory Module) also called sticks, and each stick goes in a slot on your motherboard. Each slot should be labeled – either on board or in the manual – with a number, usually starting with 0. Making sure the RAM slot is open, gently insert a DIMM into the Ram slot as evenly as possible. Once you have applied the right amount of force, you should hear a soft click and the RAM should be secure. Do the same with your other stick of RAM in the next numbered RAM slot, which probably won’t be the one right next to the first slot.

At this stage, if your motherboard has a slot for an NVME drive, now is a good time to install one. Having added one to a computer mid-life, it’s a lot easier to do without the GPU and cooler in the way. On your motherboard, look for a short slot that has empty space with a small post nearby. That’s your NVME slot. Modern motherboards come with oftentimes 2 or 3 of these. You want to make sure the post lines up with a notch on the rear of your NVME drive, and if it doesn’t, it will need to be unscrewed and set into a different slot. Assuming it does line up, unscrew the screw that’s in the top of the post, and keep it at hand. Now take your drive and gently (the key word for this whole process) insert it into the slot at about a 45 degree angle, and then push it down like an old NES cart so its edge touches the post, then take the screw you just removed and secure the drive.
Step 4: Cool that CPU
To start this section, let me just say thank goodness for modern PC building form factor sensibilities and their lovely convenient cutouts around the CPU. That means you can put your motherboard in the case before you have to install your CPU cooler. It make PC construction a lot more hassle free.

Anyways, whether you are using an air cooler or water cooled loop, the first thing to do with your CPU cooler is to take the thermal paste it comes with and apply a pea sized dollop of it right in the middle of the CPU. Then you want to cap it immediately and store it somewhere safe and convenient. Next, make sure you line up your mounting hardware with the appropriate holes and start securing each of the screws in an X formation, little by little, until your cooler has a good tight fit, but isn’t crushing your CPU. You’ll have to check your cooler for more specific instructions
Step 5: Unlimited power!
Now’s a good time to mount your power supply in the case, and to start plugging things in. Remember your motherboard needs to have enough power, and enough connections to supply that power to your motherboard, CPU, graphics card, and any peripherals like extra solid state or hard drives it might have. It’s a good idea to make sure these cables are run in ways that they’re not likely to interfere with other cables or move about.
Step 6: Making the connections
Your case almost certainly comes with cables for a USB connector (2 or 3), a power switch, a hard drive LED, and an audio connector. Now’s a good time to plug these in, as well as to plug in your case, CPU fans, and your SATA cables to their appropriate places on the motherboard. I cannot stress this enough – reference the manual and double check your placements for all of these. Once all of these are plugged in and properly “managed” with straps, zip ties, or whatever you need to keep your case as tidy as you want it, you’re ready for your graphics card to finally arrive.
Step 7: Graphics are my passion

Your motherboard should have a series of long rectangular slots, called PCIe (Peripheral Component Interconnect Express) slots below the motherboard, and lined up with a series of removable tabs on your case. Take three or so of the top tabs out and set them aside. Look at your top PCIe slot, and if there is a tab that you can push down, do so gently. Then take your graphics card and line it up with the top PCIe slot and gently push it in until you hear a click or a pop, and its mounting bracket is touching the case. Now screw the GPU firmly to the case, fill any missing slots in the back of the case with the tabs you removed earlier, and make sure your GPU is plugged in to your power supply.
Step 8: One last test
With your Power supply off, plug in your computer. Turn your power supply on. Does your motherboard show a power light? Awesome! If not you either have an older motherboard or need to check to make sure your motherboard is properly plugged in. Now try turning the computer on via the case. If it does, again good! If not, check that you’ve plugged the power switch wire in correctly. Once the motherboard turns on, make sure all the fans run, especially the CPU cooler fans. I cannot stress enough that your CPU needs to be cooled before you get down to business.
If your computer runs, congrats! Now you can put the side panels back on, grab your keyboard, mouse and monitor, plug them all in and get started on your software!

You did remember to get software, right? Right…?
Well, I’ll meet you in Part 2 for how to install Windows, graphics drivers, and some good ideas for software to install besides the latest AAA titles you finally have time to play!