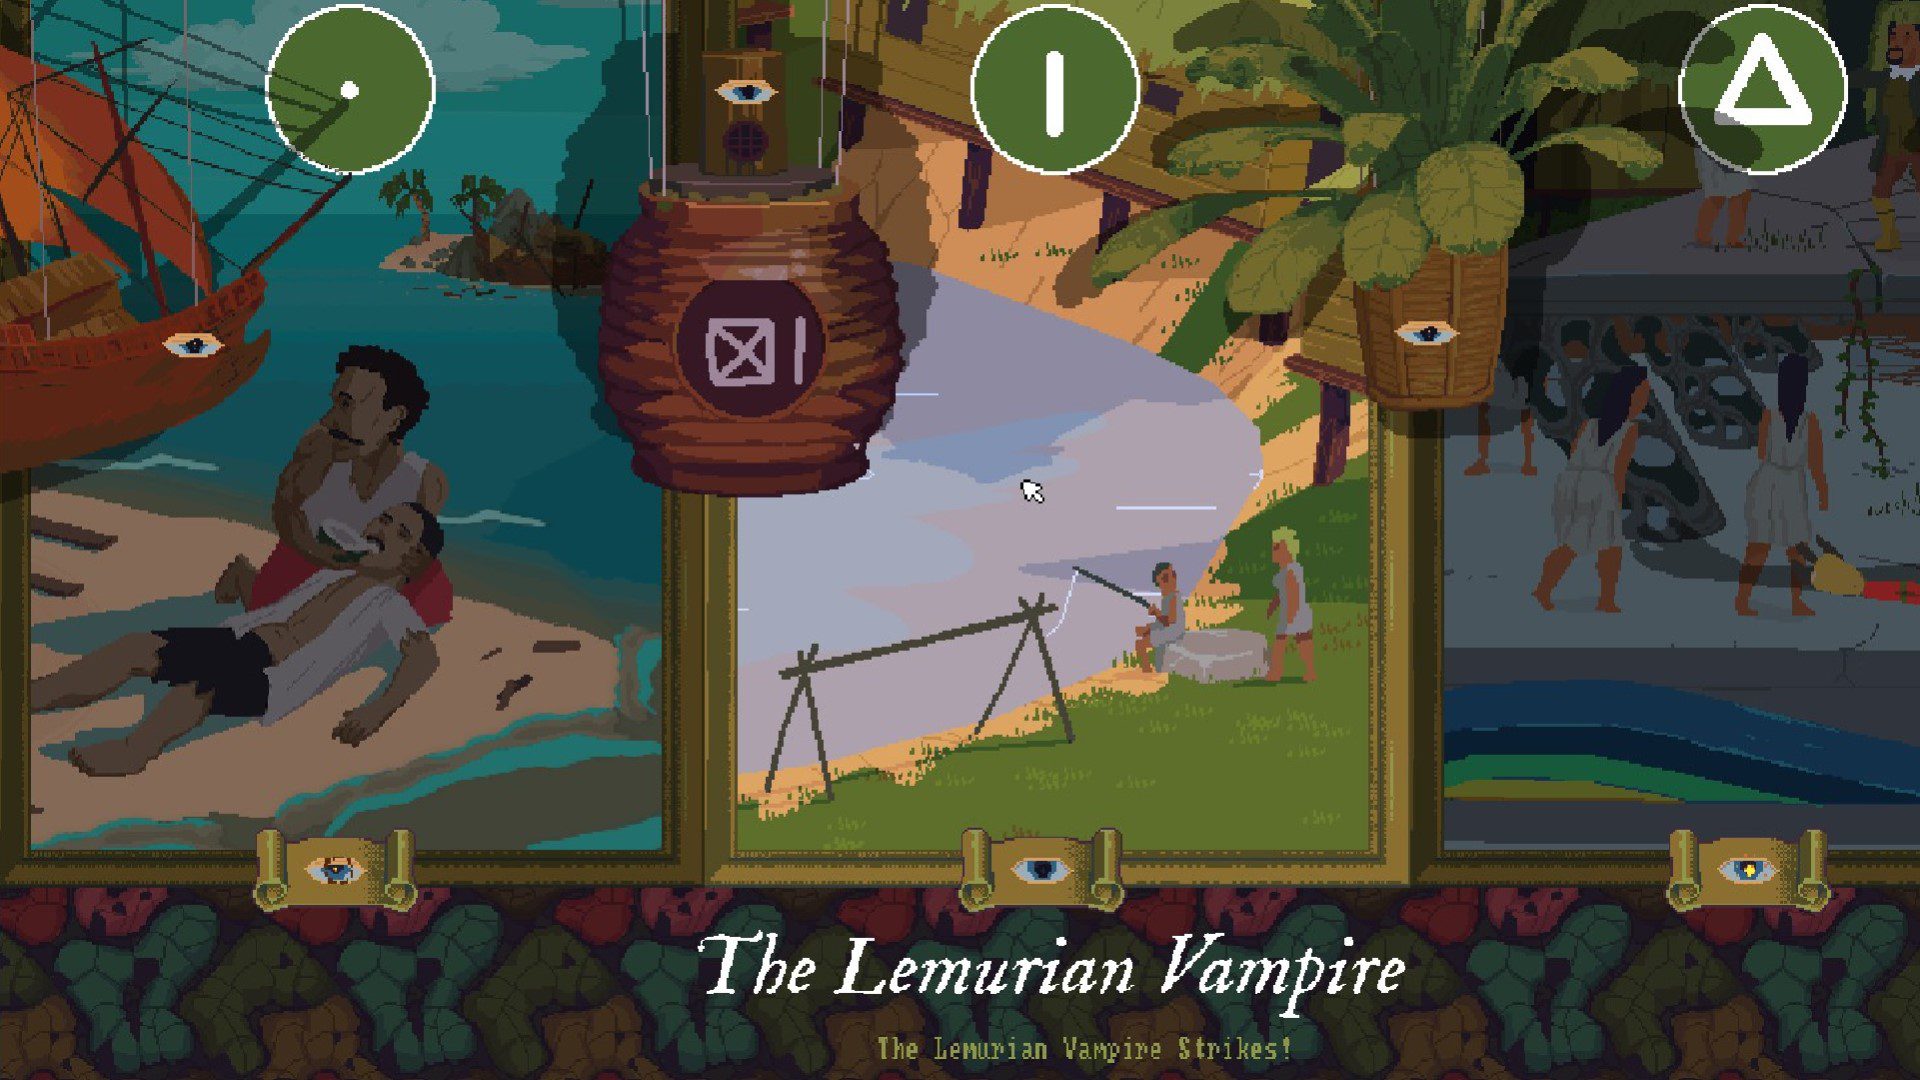
Case 2 of The Case of the Golden Idol’s The Lemurian Vampire DLC, entitled, “The Lemurian Vampire Strikes!,” shows what happens when the people of Monkey’s Paw Island attempt to defeat the tower-dwelling vampire for good. It is a complex case, taking place over several days and featuring multiple intertwined plots. This guide will cover every clue, and mystery and allow you to completely solve Case 2 of Golden Idol Mysteries: The Lemurian Vampire with ease!
Clues

There are a whopping 48 clues to find in this case. (The returning characters from Case 1 are already identified, and you do not have to re-establish who is who, but you can use their names as part of your solution.) As usual, you should collect all of the clues before attempting to solve the case, as most of them will be required for the correct solution. The clues are:
- People: Dweller, Een, Sahilia, Tower (Returning from previous case: Gamini, Jayan, Ji, Kerra, Kruplu, Kula, Lavu, Mata, Momgo, Stirna, Tissa, Vyrlis, Zarno, Zubiri)
- Prepositions: In, Through, To
- Nouns: Ancient, Afraid, Basket, Bones, Door, Eggs, Fish, Flesh, Gift, Golden, Honey, Idol, Juice, Lake, Practice, Sedative, Sentinel, Window
- Verbs: Cured, Deliver, Hid, Left, Preserve, Punish, Returned, Sedated, Steal
Solutions

As with the last case, this one is split into three scenes – Scene 1, Scene 2, Scene 3 – taking place chronologically over a period of several days. Additionally, there is one piece of information revealed in a cut scene between two cases: with Sutul Vaito dead, Tissa Gamini becomes the new Sentinel, the person responsible for appeasing the Tower Dweller when they become angry with the community.
Debts

The first thing to figure out is who was indebted to who. This will shine a light on why certain characters act the way they do. Each of the character has a “promise cube” which can be split into two parts. If a person is indebted to another, they give them half of their promise cube.
In Scene 1 and Scene 2, everyone has a full promise cube with one exception: Tissa has an extra half, while Kula Stirna has only half. Kula also has a note in her pocket confirming that she is in someone’s debt.
In Scene 3, the blonde woman – referred to in earlier scenes by Kula as Sahilia of the Een family – has only half a cube. The extra cube half is in the pocket of Lavu, the Guardian of Children.
Thus, the scroll can be filled out as follows:
Weeks before the murder, Kula Stirna became indebted to Tissa Gamini. Hours before the murder, Sahilia Een became indebted to Lavu Mata.
Gifts

As the new sentinel, Tissa Gamini demands various gifts from the council members. Most of the information regarding these gifts can be found in Scene 2.
By examining the scene, you can find out the following pieces of information:
- A list in Vyrlis Momgo’s pocket reveals that the gifts are juice, honey, fish, and eggs
- Vyrlis is actively fishing, meaning that the fish is likely his gift
- Vyrlis says that he will deliver the fish and then the eggs
- Kruplu Zarno complains that Tissa had asked him for juice
- Tissa is drinking honey, and mentions in his dialogue that he previously received juice. Juice and honey are present in his rooms, while fish and eggs are not.
- Kula Stirna is talking to Sahilia Een about eggs, and mentions that the eggs will be delivered “that night”
From this information, we can deduce that Kruplu Zarno wanted to deliver juice as the first gift. The second gift is honey, and, by process of elimination, Lavu Mata wanted to deliver honey, because she is the only person to not directly reference her gift. For the third gift, Vyrlis Momgo wanted to deliver fish. Kula Stirna gave the last gift, which would by process of elimination be eggs…but something is not as it seems.

In Scene 3, you can clearly see the remains of juice, honey, and fish in Tissa’s room, but there are no traces of eggs – which would naturally leave behind shells if Tissa had eaten them. In addition, read through the conversation between Kula and Sahilia in Scene 2. Sahilia says she will do something “just this once” and to “come to her house” to get the eggs.
It was previously established that Kula is in debt to Tissa, and Tissa’s note says “I want her.” He explicitly refers to “beautiful Sahilia” as the person he wants. Thus, the secret plan can be figured out: Kula tells the other council members that she is going to deliver eggs, but in fact, she plans to smuggle in Sahilia via the “egg” basket. Thus, Kula Stirna wanted to deliver Sahilia.
Preparations For The Murder

Before you can properly solve Tissa’s murder, there are two more small scrolls that must be filled in. First, one of the gifts brought to Tissa was sabotaged. In Scene 2, you can read about various plants and their effects. The seeds of a spotted gourd are mentioned as a sedative, and, indeed, the spotted gourd present in the house is missing its seeds. The residue confirms that the seeds are red in color, and a bowl of bright red seeds appears next to a jar of honey. Thus:
Someone put sedative in the honey that was brought to Tissa Gamini.
One other thing is notable: the last location you can visit is a burial ground where the bones of ancient sentinels are placed inside jars. In Scene 1, all burial jars are firmly closed. But in Scene 2, one is open, indicating that its contents were disturbed. Thus:
The night immediately before the murder, someone managed to steal the bones of an ancient sentinel.
The Sentinel’s Murder

Now, you have all the information you need to fill out the final scroll. However, you need to figure out three more pieces of information: who committed the murder, how they got into Tissa’s house, and what they did with the stolen skeleton.
For the first question, ask yourself: who benefits from Tissa’s death? The answer is Lavu Mata. As Guardian of Children, her stated motto is “preserve the ancient practices,” which Tissa was going against by wanting to fight the Tower Dweller instead of appeasing it. Additionally, Lavu was now losing many votes in the council, as Tissa sided with Kula against herself and Vyrlis. (She’s also the one who gave the honey, which was laced with sedative.)
But how did Lavu get in to Tissa’s house, when the window is small and high up and the door was barred? You know that Kula was planning to sneak Sahilia in via basket, but Sahilia was reluctant – and is, as of Scene 3, indebted to Lavu. The answer is that Lavu switched places with Sahilia and hid inside the basket of “eggs.” (She hid again after killing Tissa, and then slipped in with the rest of the crowd when they broke down the door and found Tissa’s body.)
Finally, why is Tissa’s body stripped to its bones, when he was killed by Lavu rather than the golden idol-wielding Tower Dweller? The answer is that the body is not Tissa’s, but the skeleton she stole. She pushed Tissa out the window and replaced his body with the stolen skeleton to make the others think the Tower Dweller did it. The lake was filled with flesh-eating red snappers, so Tissa’s body would be quickly devoured. (However, a fisherman finds a ring previously in Tissa’s possession inside the stomach of a snapper, confirming that he was pushed into the lake.)

Thus, the final scroll in Case 2 can be filled out as follows:
Lavu Mata wanted to preserve the ancient practice and so accessed the sentinel’s lodge using a basket and killed Tissa Gamini who had been sedated with honey. Afterwards, the murderer hid in a basket. In the next morning, the villagers found the skeleton of the dead ancient sentinel and became really afraid of Tower Dweller.
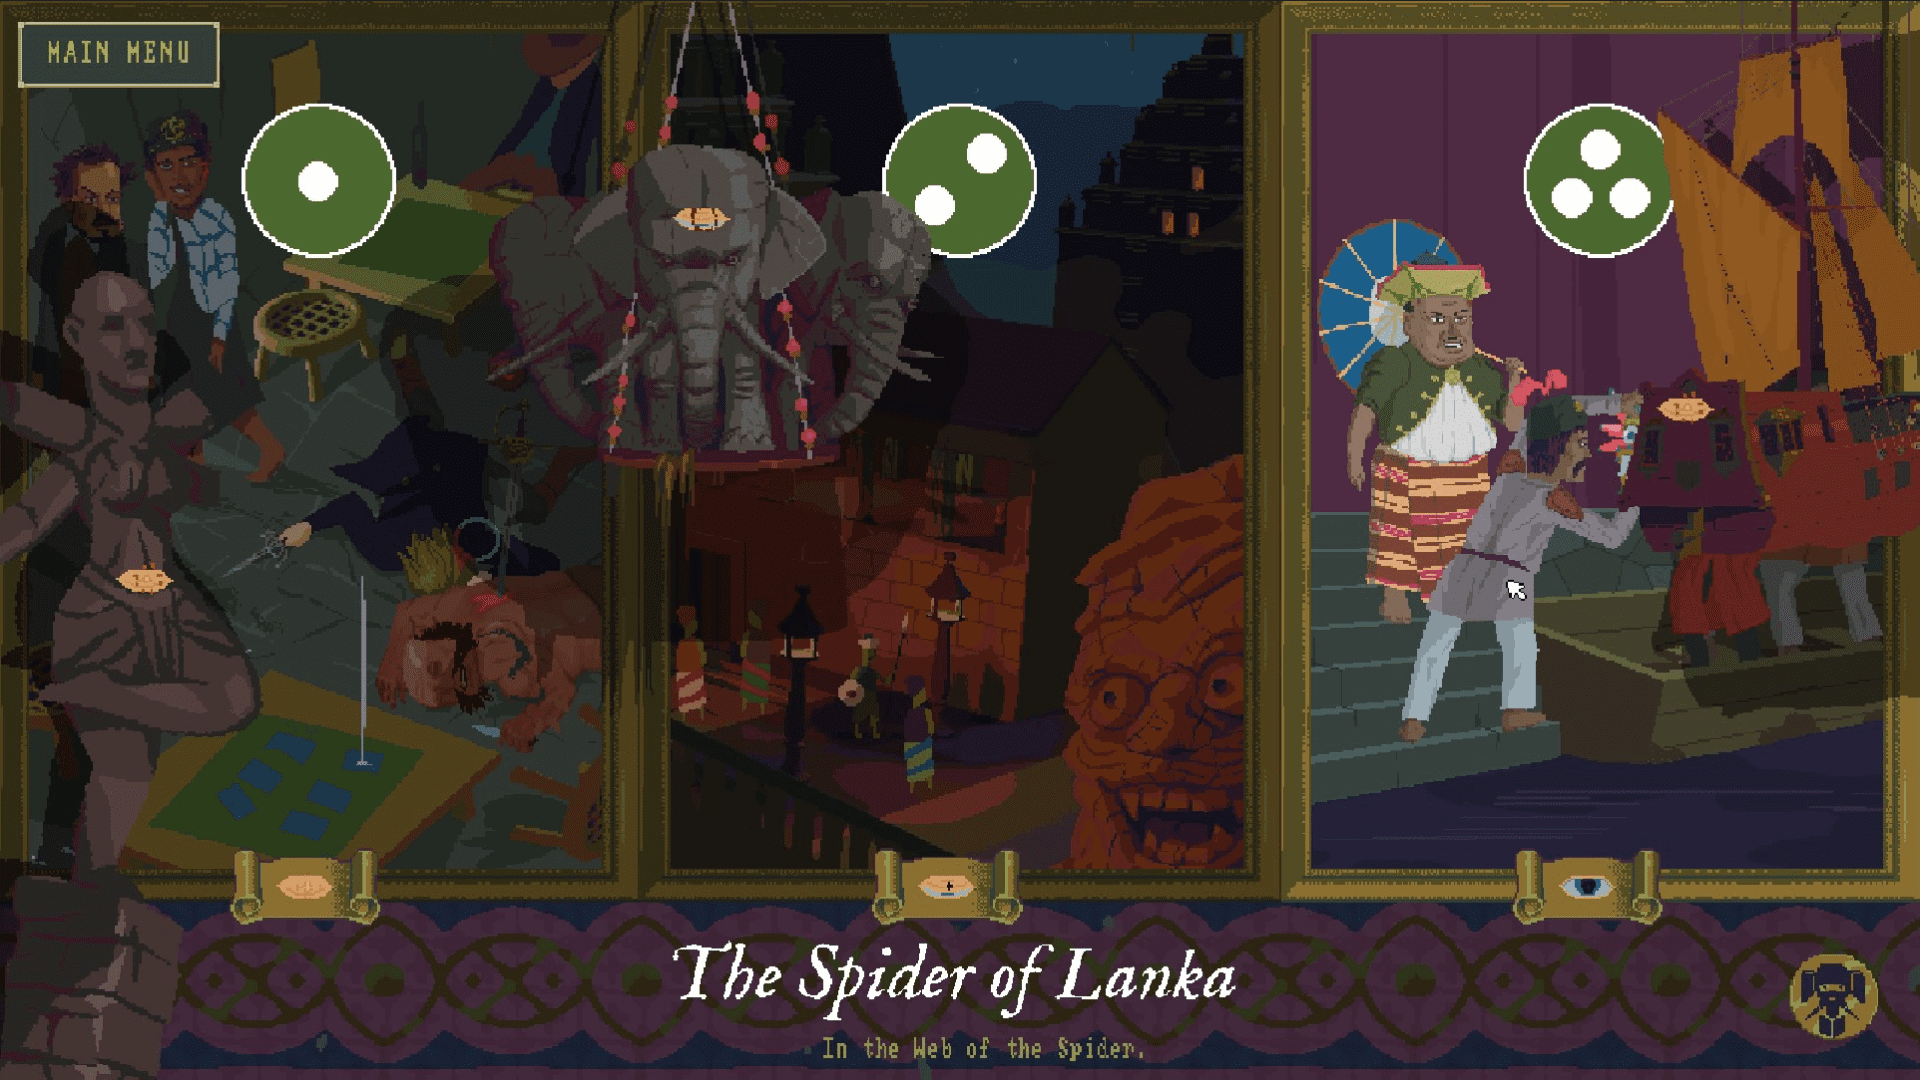
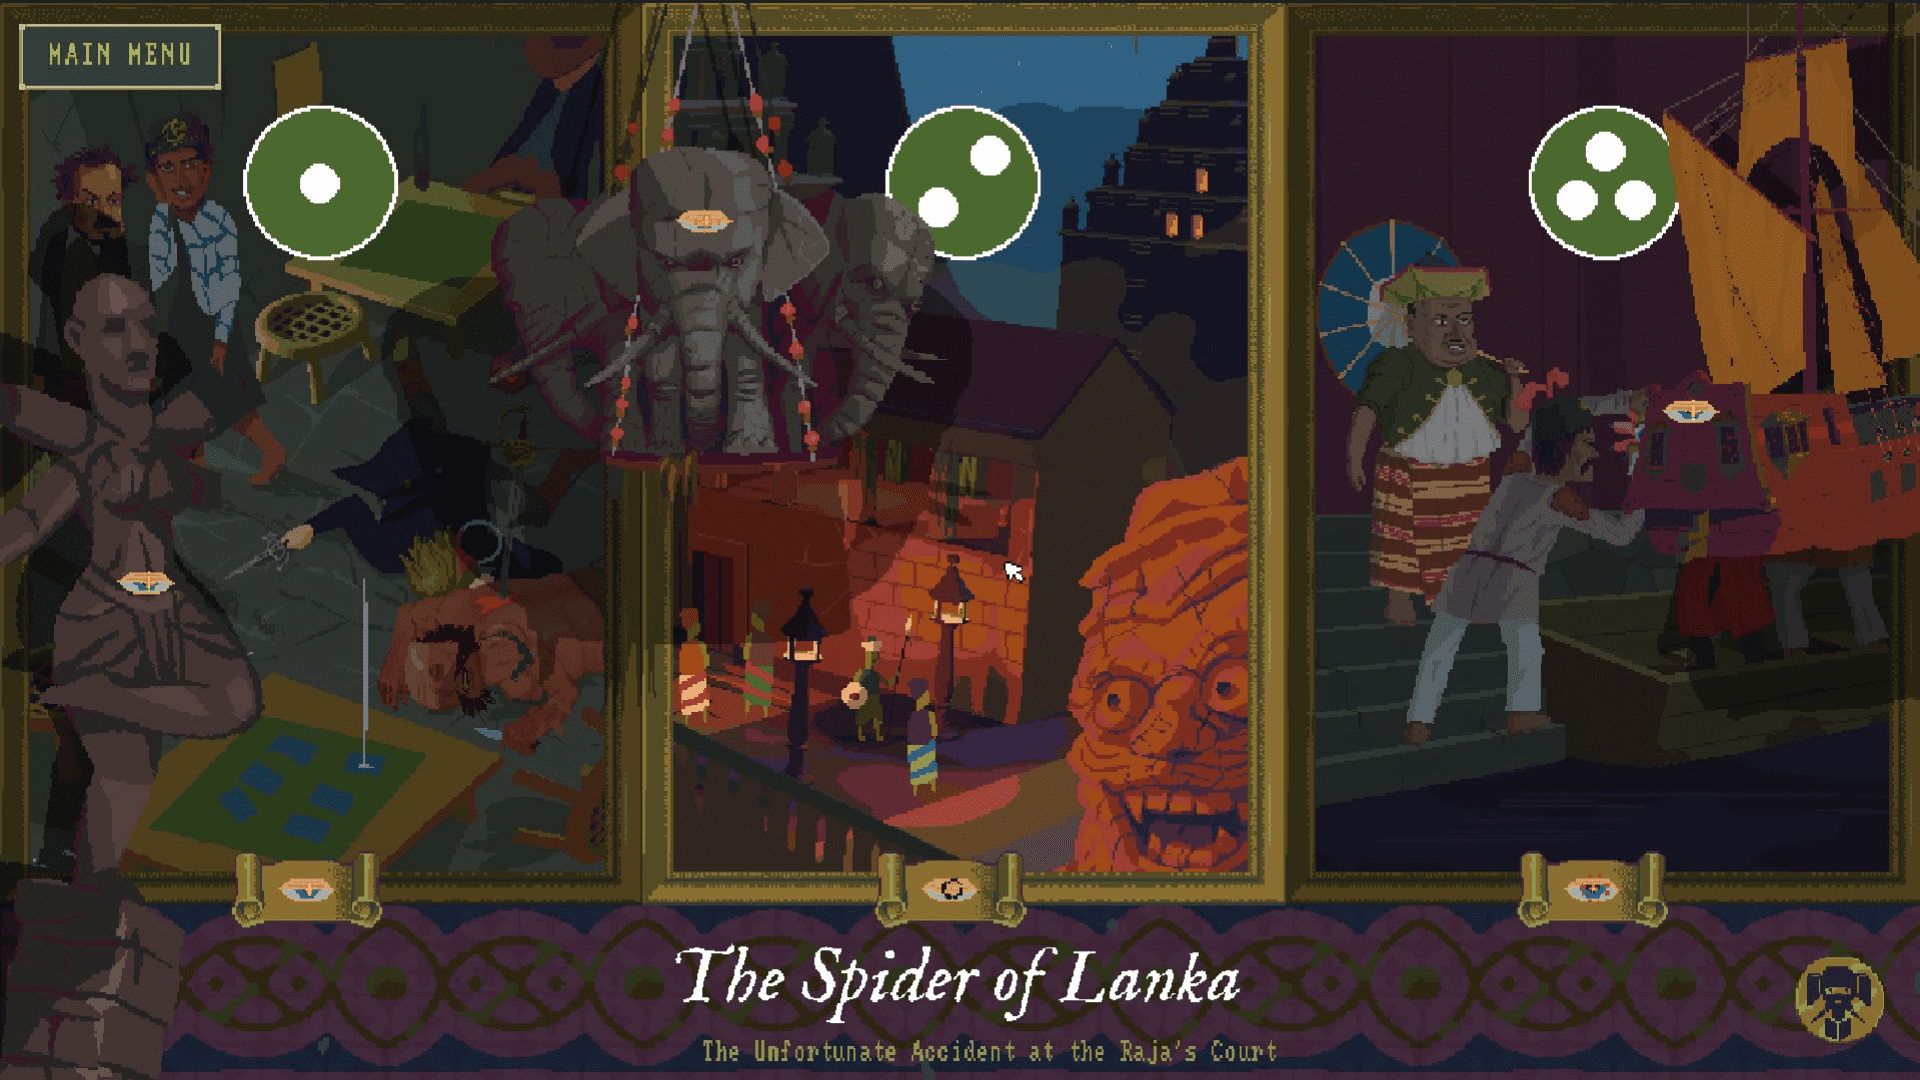
This concludes “The Lemurian Vampire Strikes!”, Case 2 of Golden Idol Mysteries: The Lemurian Vampire, which is arguably one of the trickiest cases in the entire The Case of the Golden Idol game. There is one final case remaining, which at last reveals what happened when the adventurers Albert Cloudsley and Oberon Geller found their way to Monkey’s Paw Island. Of course, GameLuster has a guide for you that will help you solve this final case! In addition, you can check out GameLuster’s other guides covering every case of The Case of the Golden Idol and The Spider of Lanka.