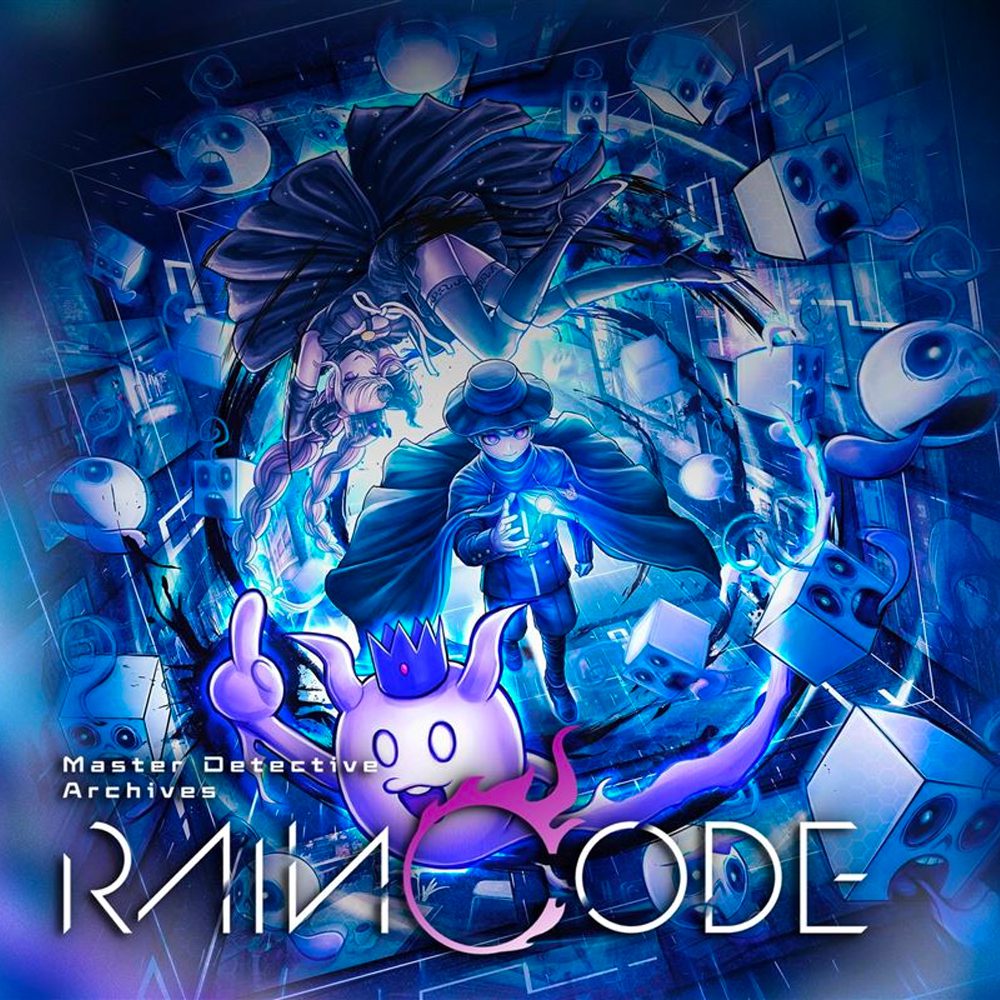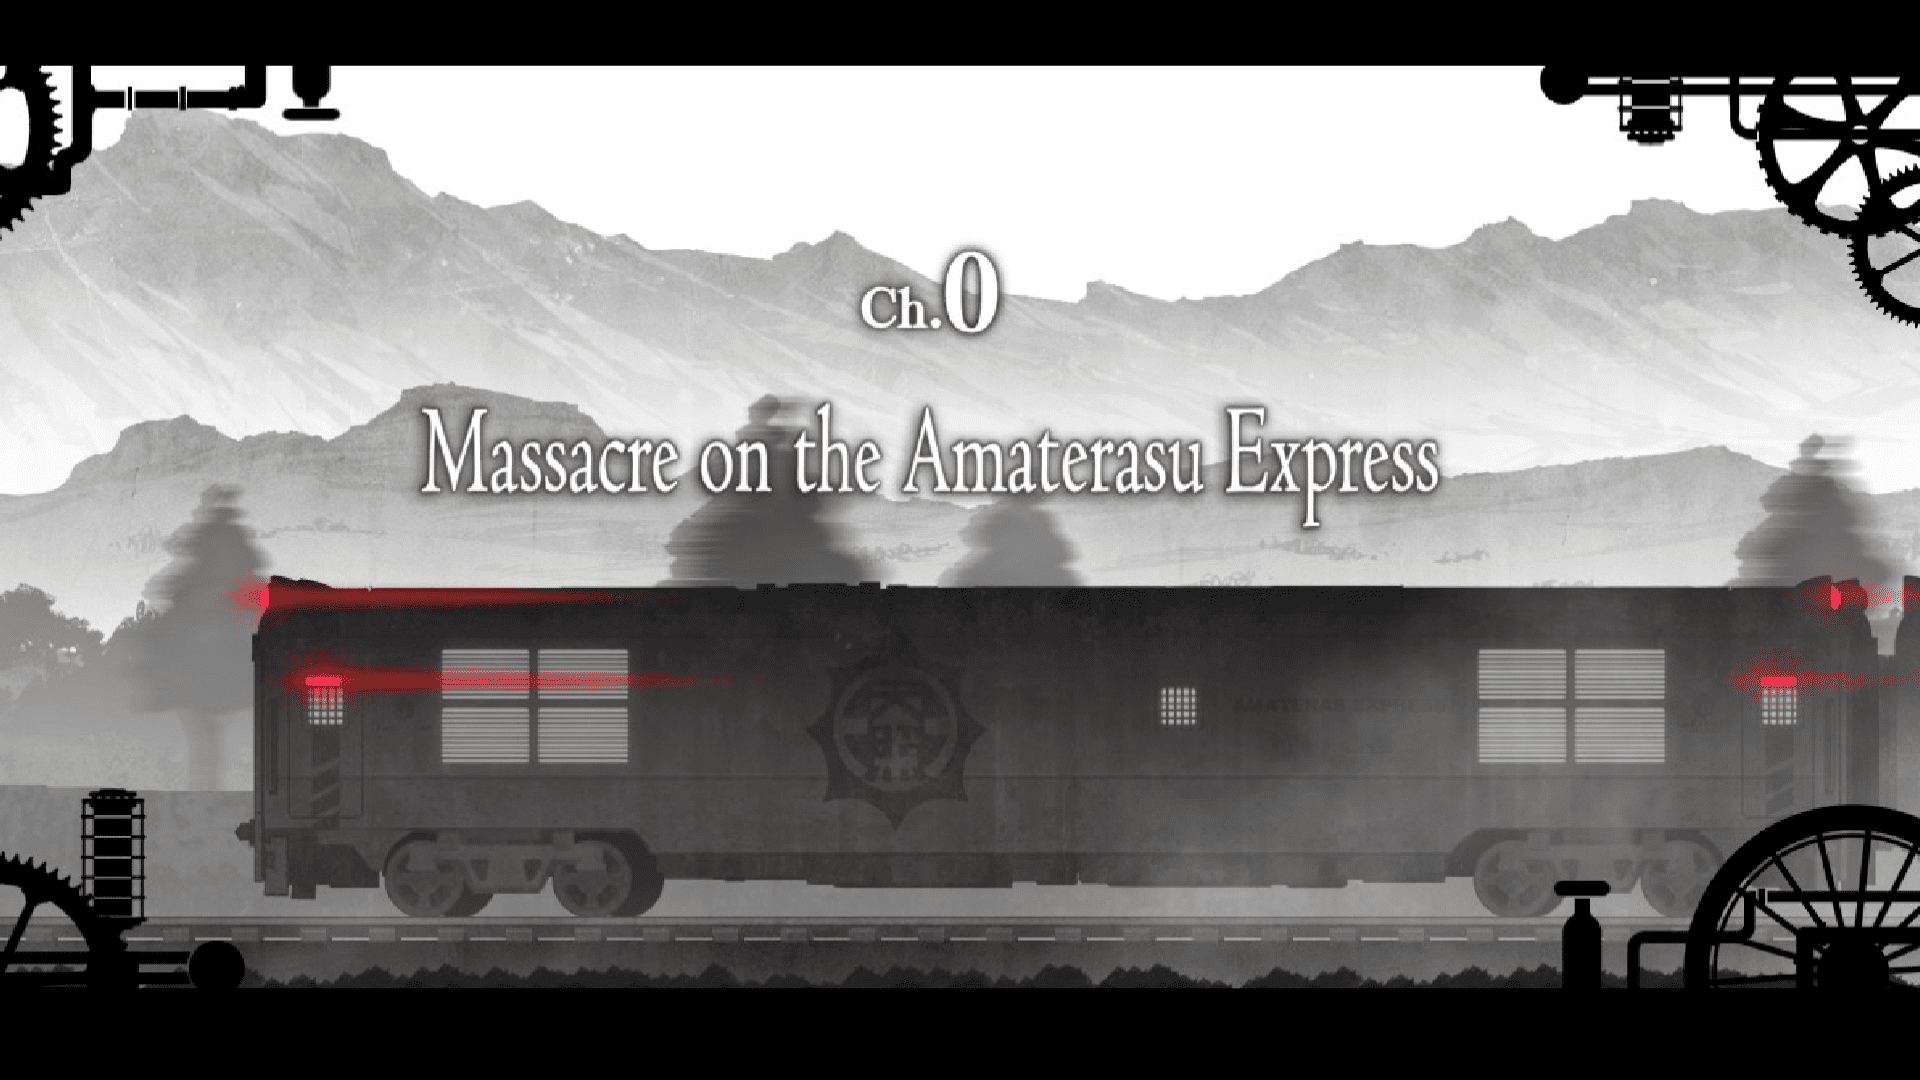
Each chapter in mystery-adventure Master Detective Archives: Rain Code centers around investigating a case by gathering clues and (if applicable) interrogating witnesses. Then, protagonists Yuma Kokohead and Shinigami reveal the truth by traveling through Shinigami’s twisted Mystery Labyrinth, filled with puzzles, questions, tricks, and traps galore. This step-by-step guide will help you solve every puzzle and answer every question in the Mystery Labyrinth for Chapter 0: Massacre on the Amaterasu Express.
This guide contains SPOILERS for Chapter 0 of Master Detective Archives: Rain Code.
Part 1: Fending Off Swank

As you make your way through the Mystery Labyrinth, the first thing that will happen is several Mystery Phantom Battles against Swank, a corrupt officer attempting to accuse Yuma of the crime.
To defeat Swank, you must use the left stick to dodge his accusations while attacking red statements with the correct Solution Blade. In the first fight, attack the statement “You’re the only one who could have done it” with “Drugged Coffee.” This will rebut the statement, but Swank will continue attacking. Change your equipped Solution Blade to “Thoughtography Image” and attack the statement “…only pretended to drink it!”

Next, Yuma will have to answer a question: Was the culprit one of the six on the train? Answer with yes to proceed – you know the train was otherwise empty – and make Swank appear once more.
This time, use the Blade “Testimonies of Two Detectives” to slash “you must have had an accomplice.” After all, both Pucci and Aphex proved that nobody else was on the train! After dodging several more statements, switch your Blade to “Operation Log” to slash “you secretly stopped the train.” This temporarily defeats Swank, although he will be back later for one more battle!
Part 2: Revealing The Red Herring

The next question will ask whether the culprit played dead or committed suicide after the other murders were done. Unfortunately, Shinigami chooses “play dead” before you get any input. This turns out to be the wrong answer, so backtrack and pick “suicide” instead.
Now, Yuma and Shinigami find themselves in a fast-moving mine cart, answering questions correctly in order to pick the right path. You will have to answer three questions in quick succession. The questions and correct answers are as follows:
- Who died last? The culprit (otherwise the number of bodies doesn’t match)
- Who set fire to the dead culprit? The culprit (nobody else was alive to do it)
- Who was the last person burned to death? Zilch (as he was thought to die first, he would have the most time to enact this scheme)

Shinigami will then propose a solution where Zilch killed the others and then set fire to his own body, self-immolating. Yuma will have some doubts, however – and he’s correct, so choose to destroy this solution when prompted. Swank will then reappear for Round 3 of your fight. Remember that Zilch had a knife in his chest, so you can use “Zilch’s corpse” to slash “…and died from immolation.”
Swank will then propose that Zilch used a knife to knock himself out. But why would he do that, when a much easier option – drugged coffee- is right there? Use “Coffee in dining car” to negate “It was to knock himself out” to defeat Swank yet again.
Next, you’ll be asked to revisit the crime scene. Investigate the Burned Blanket and the Cushion to learn how Zilch faked his death. Then, you’ll enter the Shinigami Puzzle mini-game, where you must shoot letters in order. Hit R-E-D to reveal a new Solution Key – Zilch’s death was a Red Herring. Select “Zoom” to have Shinigami backtrack through the Labyrinth, then use this new Key to open the door that appears and get back on the right track and one step closer to the truth!
Part 3: Confronting The Culprit

Next is another set of rapid-fire questions, asked as Yuma is jumping between tiny platforms in the sky. Once again, it’s a set of three. The questions and answers are:
- Was what Yuma saw actually Zilch? Yes (you could clearly see his hair/face)
- Was the burned corpse in Car 1 actually Zilch? No (if he was dead, he couldn’t have carried out the rest of the trick)
- Zilch swapped places with the corpse… …before Yuma entered the room (Yuma invested the corpse as soon as he entered)
After this, you’ll enter Spot Selection to determine where Zilch hid the corpse. Select underneath the blanket, as that would leave the body in perfect position for a quick switch. And…it turns out Swank isn’t gone for good, because he shows up yet again to contest your theory!

Swank insists that “there was no corpse to replace [Zilch’s].” But that’s not true – there was someone else on the train similar in size and stature to Zilch. Slash that statement away with “Aphex’s Corpse.” But how did the culprit transport the corpse? He didn’t pass Yuma, so he must have not moved through the train.
This time, Swank insists that “no issues occurred during the train’s operation.” But Yuma clearly remembers a “Blackout and shaking,” so use that to object. Swank then protests that the blackout was “just a bad contact” – but this can’t be true, because the train’s “Backup control system” had kicked into gear, meaning something was wrong.
Finally, Swank disappears, but there are more Shinigami Puzzles to solve. In the first, spell out D-E-T-A-C-H-ED, and in the second, spell out C-A-R – the culprit detached the entirety of Car 1 from the rest of the train.

Zilch becomes furious, and a Phantom version of him decides to fight you directly. He insists that “there’s no way to shuffle the train cars around,” but the “Route Map” proves this wrong – there is a very clear fork where the tracks split and then rejoined on the other side of the tunnel! Via another Shinigami Puzzle, tell Zilch that the Amaterasu Express had only 4 cars all along, instead of the supposed 5.
Now, Shinigami enters her giant form to take on Zilch directly. Kick away the iron balls, tackle the walls, and jump over the thorns to approach Zilch. Several false statements will appear along the way, and you must equip the proper Solution Blade to knock them down. The correct pairings are as follows:
- There’s no evidence [the cars] ever swapped! – The warped plate (Car 5’s name plate was burned to hide that it was actually Car 1)
- You have no hard evidence! – Blood on lock (Yuma cut himself when opening the infirmary door, leaving blood behind.)
Finally, when prompted to ask where Zilch was hiding while Yuma examined the swapped cars, choose Main Control Room A – it was, after all, the only locked door in the place! Zilch finally gives in, as he can no longer hide his guilt.
Part 4: Deduction Denouement

You’re so close to the end, but now it’s time to answer every question and fill in the storybook to create the Deduction Denouement. Below is a list of all the questions in the storybook in chronological order and which piece of provided evidence you need to use to answer them:
- Where did Yuma rush to? Amaterasu Express
- What was used to put the detectives to sleep? Knockout Drug
- What was used to break the window? Fire Extinguisher
- What was used as a red herring? Knife and Cushion
- Where was the culprit hiding? Under the Bed
- What was the culprit doing in the control room? Train Detachment
- What happened when the car detached? Blackout
- What did the culprit burn? Car 1 number plate
- What happened after exiting the tunnel? Attachment to Car 1
- Which body was found last? Aphex
- Who is the culprit? Zilch
With that, you have solved The Massacre on the Amaterasu Express and proved Yuma’s innocence. But his and Shinigami’s adventures in Kanai Ward have just started, so make sure to check out GameLuster’s other guides for Master Detective Archives: Rain Code!