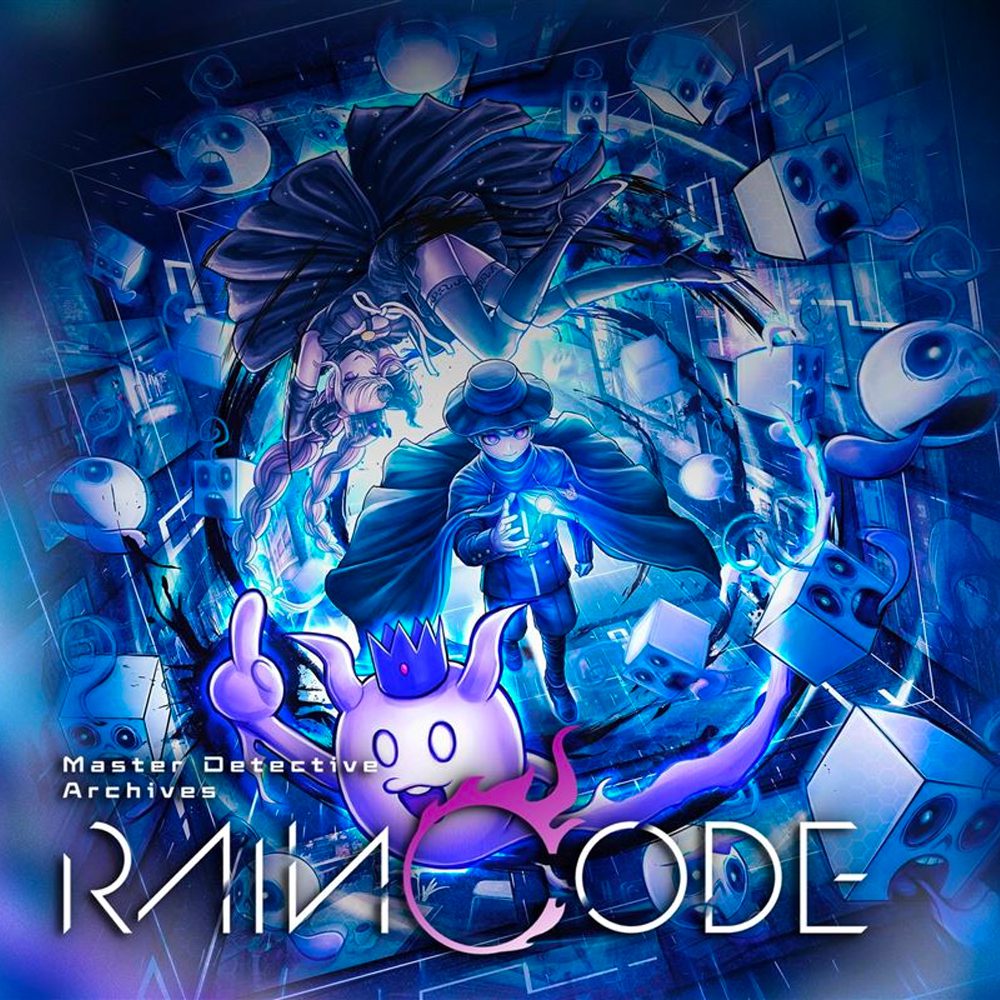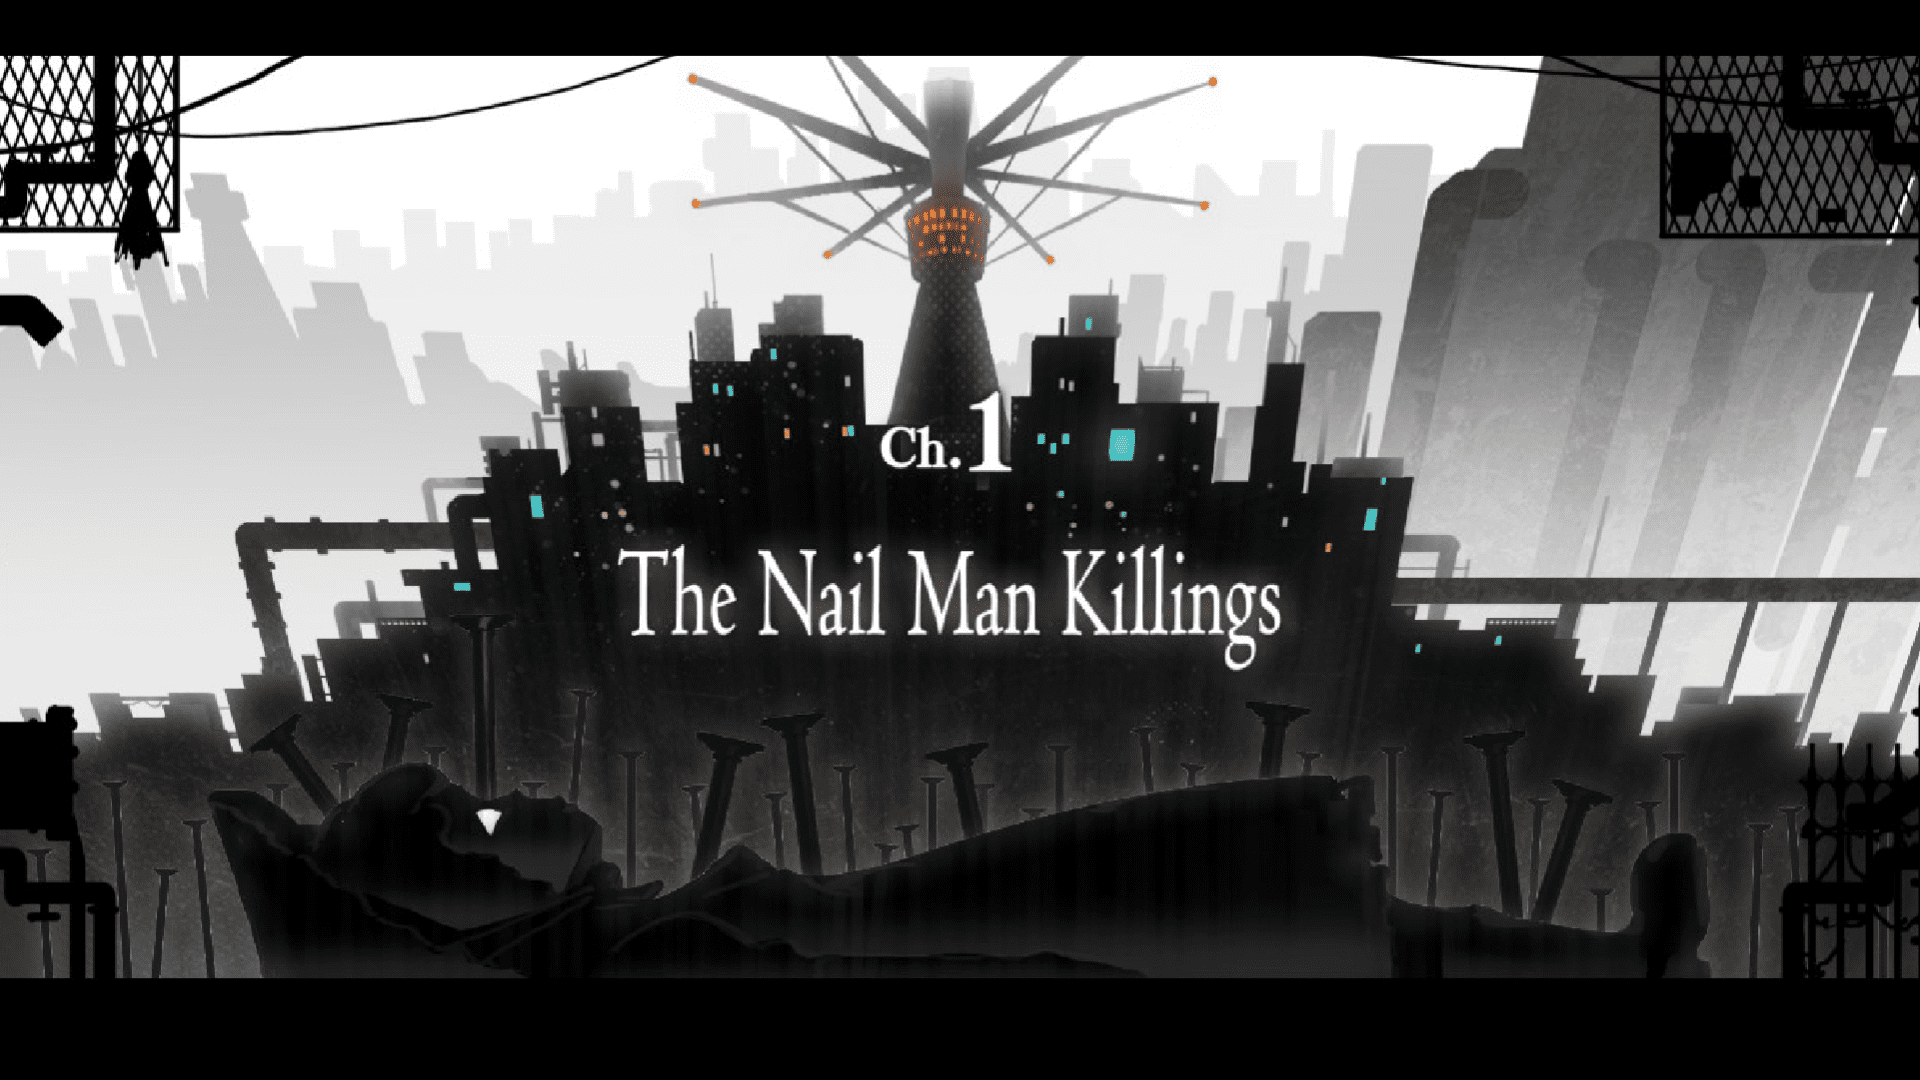
In the second case of mystery adventure game Master Detective Archives: Rain Code, detectives Yuma Kokohead and Halara Nightmare find themselves tasked with solving a bizarre serial killing based on an urban legend. After hunting through Kanai Ward to find the clues behind all four murders, Yuma, Halara, and Shinigami the death god must enter the Mystery Labyrinth and put the clues together to find the true identity of the Nail Man. This guide will cover the solutions to every puzzle in the Mystery Labyrinth in Chapter 1: The Nail Man Killings of Master Detective Archives: Rain Code.
This guide contains SPOILERS for Chapter 1 of Master Detective Archives: Rain Code.
Part 1: The Fourth Tree

As soon as you enter the Mystery Labyrinth, four numbered trees will appear in front of you. Each tree represents one of the Nail Man’s four murders. You can tackle these trees and the puzzles behind them in any order, but Halara recommends that you start with the fourth and most recent murder, as you need to prove the accused clock-maker did not do it. For the purposes of this guide, the fourth tree was also chosen first.
You will be returned to the scene of the fourth crime and asked to choose how the criminal fled the scene. Choose the window, as the door was locked the entire time and the window was large enough to crawl through. Peacekeeper Seth Burroughs will show up and shoot a barrage of questions and answers at you. Dodge the wrong answers and attack the correct ones using the Y button. Seth will ask you three questions:

First, “what did the culprit use to escape the high location?” Choose burned rope remnants – these were found in the church incinerator, so the culprit had to have been hiding them for some reasons. Then, he will ask you to prove it with “what traces did the rope leave behind?” Answer with the marks you found on the dolls nailed to the wall. Finally, Seth will demand to know, “what were the rope’s burnt remains originally?” Choose rope ladder, as this is the only option the killer could have feasibly climbed.
At this point, the still-unsatisfied Seth will initiate a Reasoning Death Match. He will attempt to insist that the clock-maker could still have been the killer and simply used the escape method you just outlined. However, you have evidence to contradict him! When Seth brings up the rope ladder, counter it with the clock-maker’s fear of heights. You will then be returned to the four trees with a new Solution Key – the killer had to be someone with access to the incinerator.
Part 2: The Other Trees

Once again, the remaining trees can be tackled in any order. In this guide, they are presented in numerical order – so Tree #1, the murder in the secret casino, is chosen next. When you are transported to the crime scene, you must again answer how the culprit fled the scene. This time, choose the vent – it was large enough for a person to crawl through.
Seth will appear and instigate another brief Reasoning Death Match. Luckily, you only have to prove one contradiction here. When Seth insists the culprit had no foothold to reach the vent, respond with the nails on the wall. There were two nails hammered into the wall that they could have easily stood on to reach the vent. You’ll get a new Solution Key – the culprit had to be thin to fit through the vent.

Net, choose Tree #2 and recall the murder in the mansion. This time, the culprit fled through the door – there was no other means of exit. Halara will then point out that the key was found in the room – select that it was thrown in through the door vent by the culprit. However, this is not enough to solve the mystery, as the key was found underneath the corpse. A Shinigami Puzzle will trigger asking you what the culprit used to move the corpse after leaving the room. Spell out the word S-T-R-I-N-G.
Of course, Seth isn’t satisfied with this answer. He’ll start a Reasoning Death match and insist that there is no proof the corpse moved. Prove him wrong with the bloodstains on the corpse – the blood flow shows that it was moved at some point. Next, he’ll charge at you for another Continuous Attack, shooting questions at you. Once again, dodge incorrect answers and choose the correct ones. There are three questions:

- What position was the corpse in before it was moved? Upper body sitting up (the only way the key could be placed underneath it)
- What was used to sit the body up? Thin string (you previously proved this during the Shinigami Puzzle)
- Why was the body lying down? The string was retrieved (no string was found at the crime scene, so this must be true)
Unfortunately, Seth still isn’t happy with this, so you will have to recreate the locked room by performing five actions in the correct order. First, tie the string to the vent above the door. Next, pass the string through the doll’s eyes on the wall – it needed something sturdy to brace against. Next, attach the string to the corpse – marks were found on the corpse’s neck indicating this happened. Tie the string to the vent a second time, creating a loop. Finally, open the door and throw the key through the vent so it lands underneath the corpse. The fishing line mechanism is added as a Solution Key.

With the second murder finally solved, you must now choose Tree #3 and revisit the murder in the art gallery. Choose the door as the culprit’s mode of exit, as the window was too small for them to fit through. It’s pointed out that the key was found nailed to a painting, so when asked if the culprit again threw it into the room, select No.
Now, you must again recreate the locked room to figure out how the culprit disposed of the key. First, nail the doll to the painting. Then, stand the painting up next to the window,as the window was the only way the culprit could access the room from the outside. Then, use the door to leave the room. Through the window, nail the key to the doll. Finally, push over the painting, as it was found facedown at the scene.
Part 3: Confronting The Culprit(s)

With all four locked-room murders solved, you will be asked to identify the culprit from the priest, nun, servant, and worshipper. Think about what you know – the culprit worked for the church, was thin, and had the strength to move a corpse using fishing line. Select the only person who fits all these criteria: the priest. He will deny it, and attempt to accuse the other three via a Reasoning Death Match.
- When he accuses the worshipper, point out that the worshipper did not have access to the incinerator
- When he accuses the servant, point out that the culprit was thin (the servant is fat)
- When he accuses the nun, respond with the mansion fishing line (the nun has a broken arm and could not pull on the fishing line)

Then, he will insist that you have no hard evidence. Unfortunately, he’s right – it’s time to bluff. Use the footprints found at the fourth murder scene, which will cause the priest to admit defeat.
Unfortunately…this Mystery Labyrinth is not yet done. Shinigami and Halara will point out that one of the four crime scenes is different from the others. Choose the third murder and use the Shinigami Puzzle mechanic to spell D-E-A-T-H. The cause of death is what’s different – the other victims were strangled, while the woman killed third had suffered blunt force trauma. When you are asked why the killer made the cause of death look like strangulation, respond that it was the work of a copycat.

Now, it’s time to identify the copycat. Select the worshipper – he was obsessed with the Nail Man killings and carefully observed every crime scene. He will of course attack you with a now-familiar Reasoning Death Match, but when he says anyone could have done it, you can contradict him with Non-public information. The fact that the Nail Man strangled his victims was not made public, so only the Worshipper, who visited every crime scene, could know that.
During the God Shinigami Rush minigame, use the Y, X, and A buttons to knock away obstacles. The worshipper will attempt to block your way by saying “You didn’t even check the crime scenes back then!” Of course, you did – respond using Halara’s Forte, as their Postcognition ability let you do just that. When he insists that “what you saw was what I saw the moment the corpse was discovered,” respond with Pain can on floor. (This one is a little tricky, but keep in mind that Halara’s view is only what the first witness sees, not the killer, and the worshipper knocked over the paint can, so the knocked-over can would not have been present in Postcognition if the worshipper was the first witness.)
Part 4: Deduction Denouement

Finally, bring this Mystery Labyrinth to a close by filling in the storybook in Deduction Denouement. Below are all the questions asked in this mini-game – listed in the order they appear – and their answers.
- Where did the culprit leave [the first murder scene] from? Vent
- What did the culprit use to climb the walls? Nails
- What did the culprit tie to the vent [during the second murder]? Fishing line
- What did the culprit pass line through? Eyeless Doll
- Where did the culprit pass the line through last? Back of Victim’s Neck
- What was nailed to the doll [at the third murder]? Key
- What does the culprit use to escape [from the fourth murder]? Rope Ladder
- What did the culprit use to hide evidence? Incinerator
- Who is the Nail Man? Priest
- Who is the copycat? Worshipper

At last, this brings the tricky Chapter 1 Mystery Labyrinth to an end, with both the true Nail Man and the copycat killer brought to justice. Of course, many more cases still await Yuma Kokohead in Kanai Ward, so make sure to check out GameLuster’s other Master Detective Archives: Rain Code guides to solve them all!