In Chapter 4: The Imperfect Insider of Master Detective Archives: Rain Code, protagonist Yuma Kokohead and his allies must enter the secret laboratory of the mysterious Amaterasu Corporation. There, one of the Corporation’s chief scientists, Dr. Huesca, is murdered within his own highly secured lab. Alongside Master Detective Vivia Twilight, Yuma enters the Mystery Labyrinth to reveal the truth and solve Huesca’s murder – no matter the consequences. This guide will provide every solution to Chapter 4, Master Detectives Archives: Rain Code’s biggest mystery yet.
This guide contains SPOILERS for Chapter 4 of Master Detective Archives: Rain Code.
Part 1: The Culprit’s Entrance

Yomi Hellsmile, leader of the Peacekeepers, is insistent that Huesca killed himself and there is no way an intruder could have entered the lab. He points out that even the detectives themselves were forced to rely on Ama-Pal, a remote-controlled robot, to bypass the lab’s security. However, you can prove him wrong.
A Reasoning Death Match starts up; slash “There couldn’t be an intruder” with “Footprint on Ama-Pal’s Head,” which decisively proves someone was there. Repel Yomi when he says “you proved that yourself” – Yuma proved there was an intruder, not that there wasn’t. Finally, bring the battle to an end by slashing “There’s no place to hide in the critical lab” with “Air Lock Decontamination Device,” which had just enough space for a person to fit inside.

When asked, “Was there an intruder,” select “Yes” – you just proved there was. You will then find yourself in front of three doors, each proposing methods of how the culprit got into the lab. Enter each door (in any order) and use your Solution Keys to prove why each answer is incorrect.
- “Invited in by the doctor” is not correct because of the Security Records, as the security was only deactivated once, when the protagonists did it using Ama-Pal
- “Never entered the lab” is not correct because then the doctor would have committed suicide, but his Stab Wounds In The Back could not have been self-inflicted
- “Deactivated security by cutting power” is not correct because of the Security Power Supply – the lab was on its own separate power supply, so cutting main power would not have granted access to the lab

After disproving all three doors, a fourth door appears. This one claims that the culprit “Entered and killed with Spectral Projection” – that is, that Vivia himself is the culprit and used his Forensic Forte to kill Huesca while in his ghost form. However, you can disprove this with Ghost Form Traits. Vivia in ghost form cannot interact with solid objects, so he could not have left the footprint on Ama-Pal’s head.
The group despairs, thinking there is absolutely nothing the culprit could have used to get into the lab. However, you can prove this wrong with a Shinigami Puzzle. Spell out AM – A- – PA – L – the protagonists used Ama-Pal to enter the lab, and the culprit could have taken advantage of that.
Part 2: The Doctor’s Motive

With the mystery of the culprit’s entrance still unsolved, the team instead turns their attention to explaining Dr. Huesca’s bizarre behavior just prior to his death. The doctor shouted “Who are you?” and Yuma must identify who that was directed at. Select “no one” – the security hadn’t been disengaged, so nobody could be in the lab yet.
Yuma and Vivia will suggest that the doctor had a plan to escape the lab and Kanai Ward entirely. This will infuriate Yomi, who starts up another Reasoning Death Match. Slash “the doctor was loyal to Amaterasu” with “Email Records.” Huesca had been emailing an anonymous person talking about his plans to leave the ward.

Then, you will be asked questions about the details of the doctor’s plan. Answer “How did the doctor plan to escape Kanai Ward?” with “Doctor’s Notes” – he was experimenting with using sulfuric acid to disintegrate a person’s skin and clothes, creating an unrecognizable corpse. When asked what the doctor planned to do with this corpse, say “Swapped places,” as he was intending to pass it off as his own and leave town.
This establishes the Doctor’s plan – he would allow Yuma and the detectives into his lab and swap places with them. It also explains why the culprit had to use Ama-Pal, as the doctor was paranoid and would never disengage his security for anyone. With that resolved, you can return to investigating the culprit’s method of entrance to the lab.
Part 3: The Culprit’s Movements

The next question is whether the culprit entered the lab before Ama-Pal. Select Yes – it is the only option, as Yuma observed the doctor’s corpse as soon as Ama-Pal got into the lab. You are then asked again where the culprit was before the crime. Repeat the same answer as before by selecting the first decontamination chamber, as there was a space big enough for a person to hide.
Next will be the question “How did the culprit use Ama-Pal?” with three possible answers. Choose each of them in any order to reveal why they are all wrong. “As a shield” is wrong because the culprit could not have survived either the toxic gas or the electric shocks on the way to the lab. “As a weapon” is wrong because the doctor was killed with a knife and Ama-Pal’s hands cannot grasp objects. Then, choose “Neither”, and Vivia suggests looking at things another way.

You will be sent back to the earlier question “Where was the culprit before the crime?” Select on top of Ama-Pal’s head, as this would have let them avoid the shocks (not the gas, but this is discussed later.) The next several questions are asked rapidly, and you must answer them in order. Questions and answers are listed below:
- How did the culprit use Ama-Pal? As transportation (they rode Ama-Pal into the lab)
- What caused Ama-Pal’s malfunction [when it entered the decontamination chamber]? The culprit jumped on it.
- Why did the culprit not show on Ama-Pal’s camera? Because they were on top of Ama-Pal’s head.
- When did the culprit get off Ama-Pal? When the door was opening (the door opened slowly, giving the culprit plenty of time.)

Of course, Yomi is unhappy with this and starts up another Reasoning Death Match. He points out that the culprit would have been seen “if Ama-Pal’s line of sight changed.” However, you can rebut this with “Ama-Pal’s Design.” While its arm was extended to open the door, Ama-Pal could not respond to any other commands, so its camera could not move.
Yomi then changes his tack to ague that Dr. Huesca would have heard the culprit coming, and thus would not have been stabbed in the back. Luckily, you can contradict this. Repel “it wouldn’t be in the back” and rebut “he [Huesca] would have heard” with “Information On Dr. Huesca.” Huesca was in fact deaf, and thus would not have heard either Ama-Pal or the killer enter. Yomi has one last angle, however, when he argues that “no living human can beat [the security system].” Respond with “Fubuki’s Forte,” as Master Detective Fubuki Clockford used her ability to turn back time, thus attempting the electric shock chamber over and over again until the proper code was discovered.
Part 4: Vivia’s Interference

Yomi seems to have no more objections – but now Vivia himself enters the Reasoning Death Match. For some reason, the Master Detective doesn’t want Yuma to find the truth. He insists that “you’d die before reaching Huesca” due to the toxic gas in the chamber. However, you can rebut this with “Toxic Gas Properties.” The gas takes thirty minutes to kill, meaning the culprit would have had time to murder Huesca.
Vivia then asks how the culprit covered up his death from poison, as nobody was killed by toxic gas in the lab. He asks “How did the culprit mislead his death?” Simply dodge his first set of statements, as the answer is found in the second set. Repel “the hitman” when Vivia suggests that. The culprit had Fink the Slaughter Artist, the hitman initially believed to be targeting the doctor, kill him so his cause of death would not be poison.

The Master Detective demands proof that Fink’s target was the culprit, not Huesca. Respond with “The Photo” – the photo was dropped by Fink, and while it is too burned to recognize, the person in it is clearly not Huesca. You are then asked to identify the true culprit, and the reason behind Vivia’s reluctance is revealed: the culprit is none other than Yakou Furio, the chief of the Nocturnal Detective Agency.
In the final battle against Vivia, you must Repel the correct answers to the following questions:

- Why did Yakou send the death threat? To make it look like the Doctor was in danger (His plan relied on Desuhiko and Fubuki’s Fortes, so he needed to lure the Master Detectives to the lab)
- Why was the death threat sent to the Peacekeepers? To use the Disguise ability (If there were Peacekeepers around, it would be easy to sneak into the lab using Desuhiko’s Disguise)
- Who caused the blackout? Fink the Slaughter Artist (He was seen near the control room. Presumably, this was part of the job Yakou hired him for)
Part 5: Deduction Denouement…And More

As usual, it’s time to finish things off with the Deduction Denouement…well, not quite. There’s actually a little bit more to do after the Denouement this time. However, first things first. Answer all the questions in the storybook with the answers listed below:
- Where is the secret lab located? Amaterasu Corporation
- The death threat was sent to the detectives and also who? Peacekeepers
- How was Dr. Huesca communicated with? Intercom
- Where did the culprit hide? Decontamination Device
- What did the culprit use to get past security? Ama-Pal
- Whose power was used in the panel room? Fubuki
- What weapon was use to kill Dr. Huesca? Knife
- Who killed the culprit? Fink
- Who is the culprit? Yakou

Vivia and Shinigami are ready to get out of the Labyrinth now, but Yuma isn’t so sure. When prompted, select “Some mysteries are left,” which cues up a Shinigami Puzzle. Spell out E-M-A-I-L – you still haven’t identified the anonymous person Huesca was emailing, and it probably wasn’t Yakou, as the emails mentioned Anonymous having a connection with Amaterasu Corporation.
This causes Yomi’s Mystery Phantom to show back up. Seems that the Head Peacekeeper has something to hide. Repel the statement, “it’s solved,” and then contradict “there’s nothing connecting Yakou to Anonymous” with “Lab Map.” Yakou, who isn’t an Amaterasu employee, needed help from someone within the company to obtain that map, and this was likely Anonymous. Yomi insists that “anyone could find [the map,]” but you can repel that with “Storage Key,” as the map was kept in a locked storage room.

The mastermind of the whole incident, then, and the true identity of Anonymous, is the only person who held that key: Yomi Hellsmile, Director of the Peacekeepers. Yakou may have been the one who killed Huesca, but it was Yomi’s help that allowed him to do so. With the mystery solved to Yuma’s satisfaction at last, the group returns to the real world to share the sad news of Yakou’s actions with the rest of the Master Detectives.
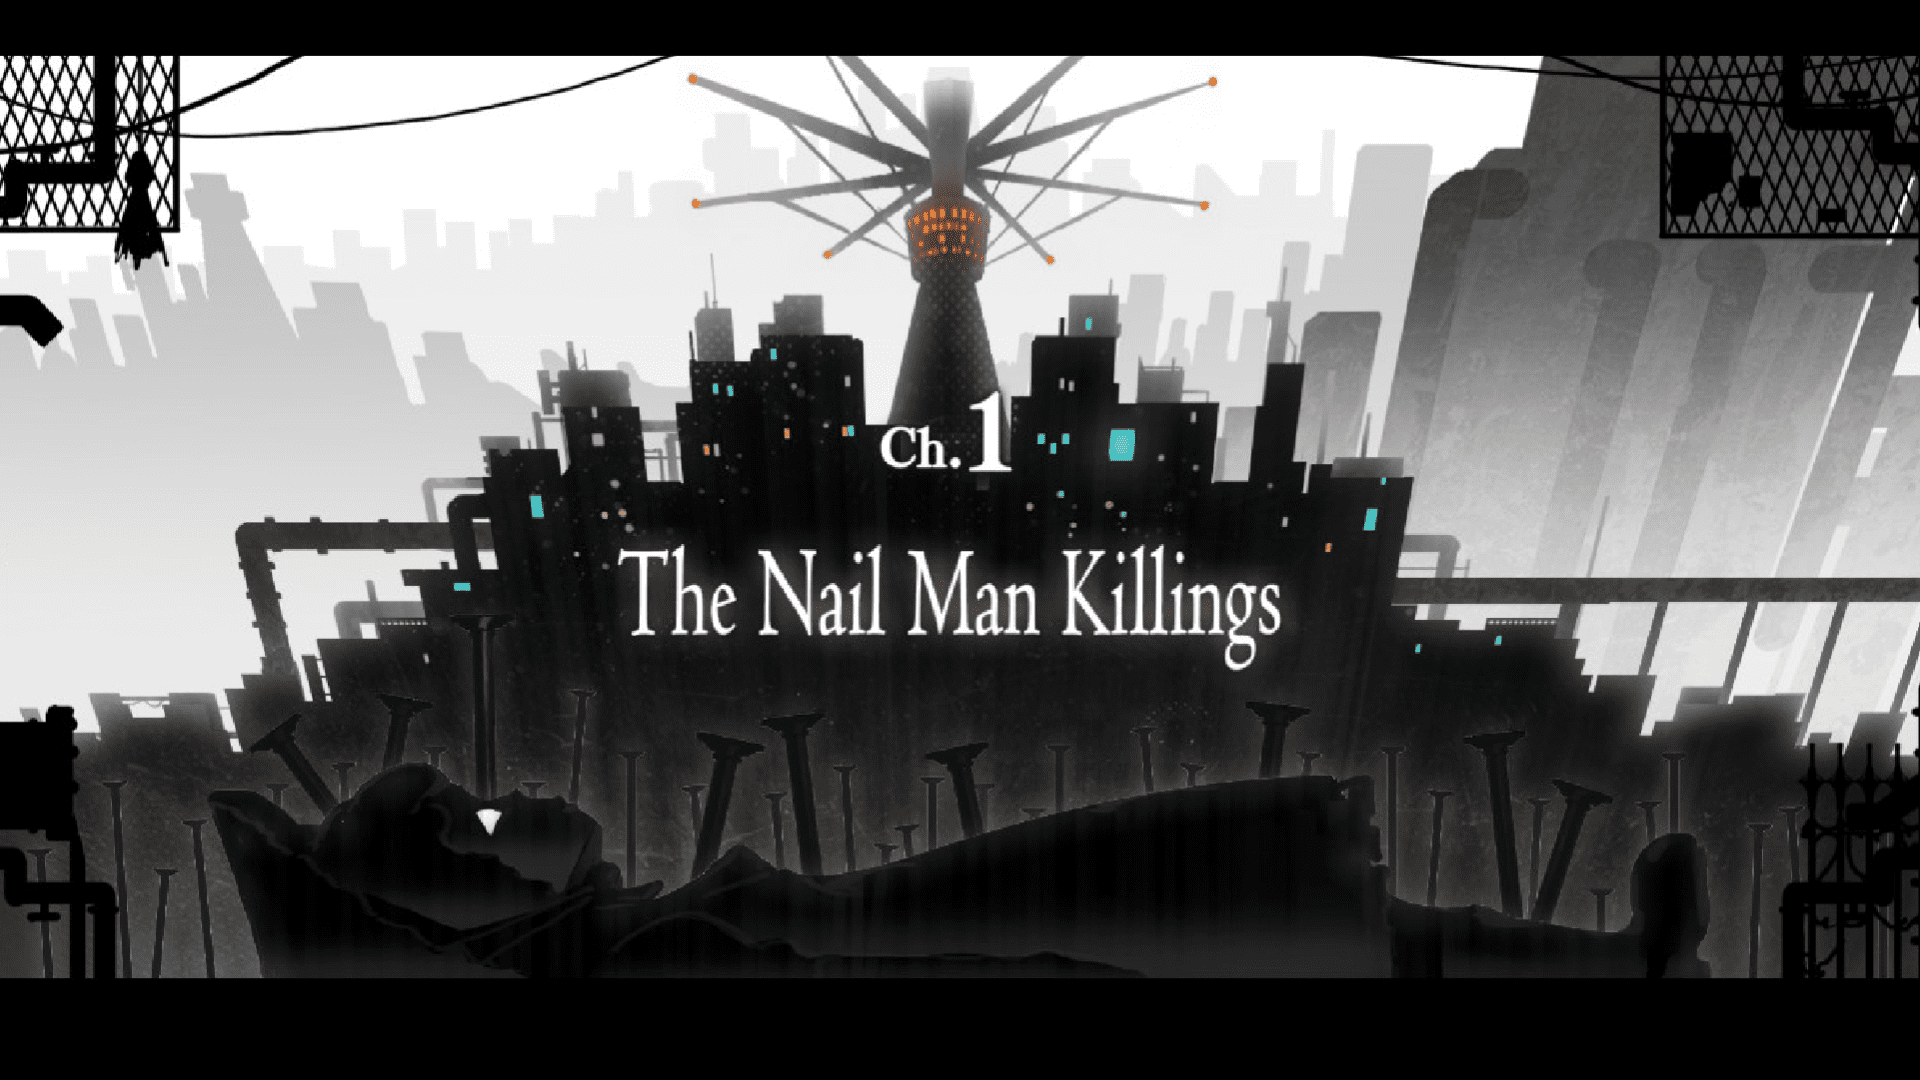
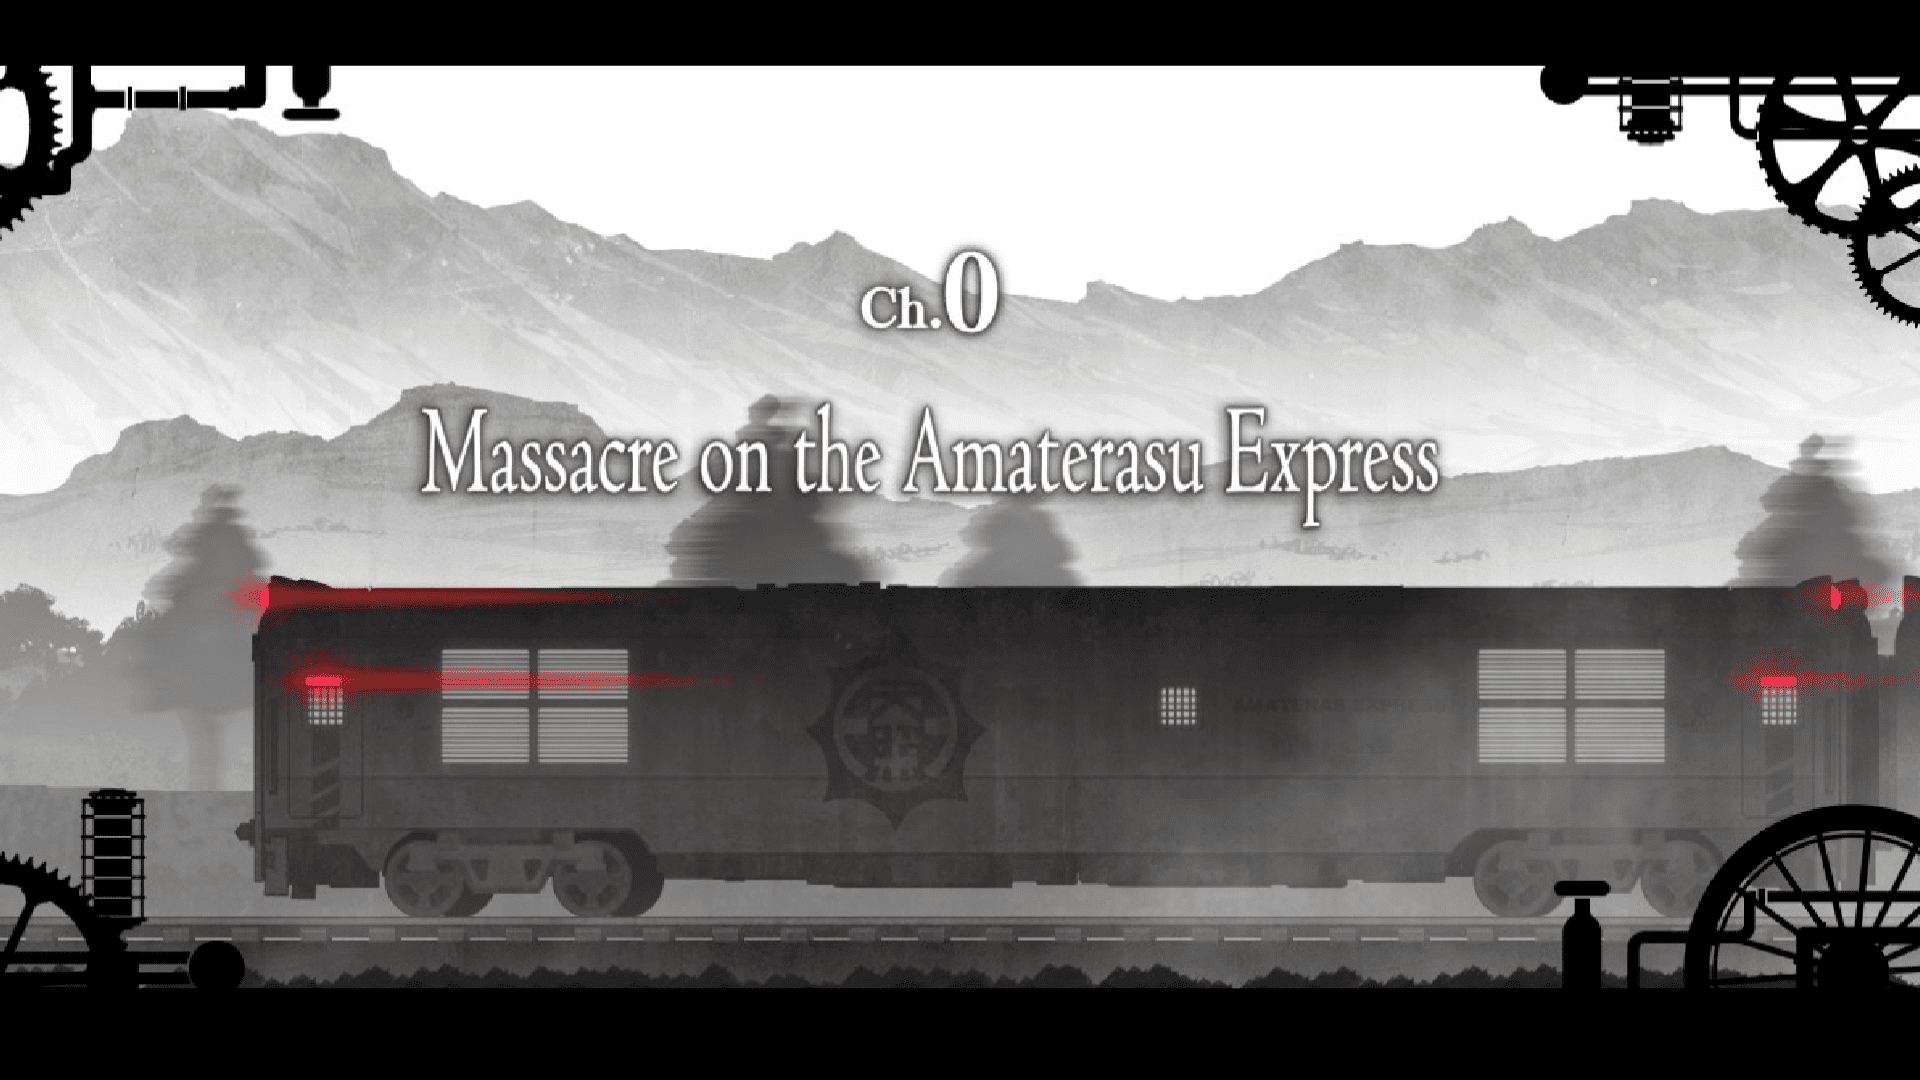
With that, you have solved the entire Mystery Labyrinth found in Chapter 4: The Imperfect Insider of Master Detective Archives: Rain Code. Only one more case remains – you are so close to learning the ultimate secret behind Kanai Ward! But first, if you’re stuck on any other puzzles, make sure to check out GameLuster’s guides for the Mystery Labyrinths in Chapter 0, Chapter 1, Chapter 2, and Chapter 3 of the game.